Bearings mounting guide:
methods and tools
Designed to withstand heavy loads and to extend the service life of machinery by reducing friction and distributing forces,
bearings are very susceptible to shocks and heavy impacts. Therefore, improper handling or incorrect mounting and dismounting can
damage the elements of a bearing,
causing excessive noise and vibration levels, and affecting the bearing rotation.
The same can happen when small particles enter the bearing, causing the contamination of parts or of the lubricating substance.
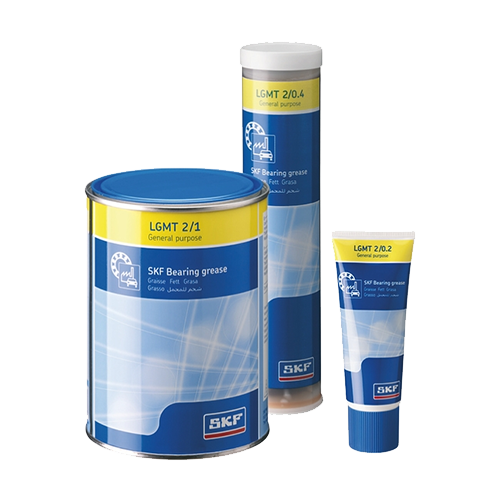
Even very small foreign particles can contaminate the bearing, jeopardizing the service life of the device. These
types
of bearing damage can be prevented by handling the devices properly and using the right tools when mounting and dismounting
bearings.
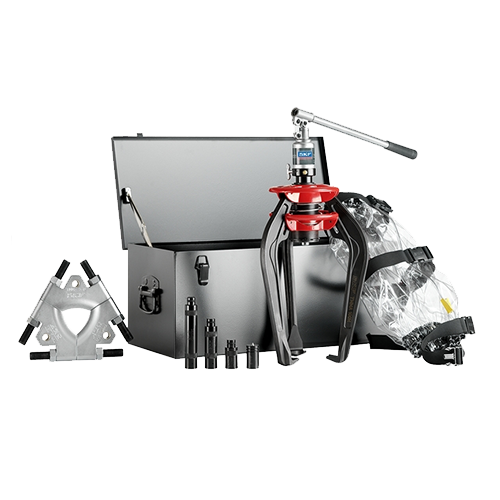
ERIKS provides a comprehensive range of bearing tools intended to keep bearings well maintained during use, and to
ensure the safe mounting and dismounting of bearings.
Bearings mounting process
INSPECT ALL COMPONENTS FOR CONTAMINATION AND DAMAGE
Before mounting the bearings, make sure they are still in the original packages, to prevent contamination. Review the drawings
to determine the correct orientation of the bearings in the assembly, and once you have everything ready, unpack the bearings and
inspect them before mounting. If the bearings have been opened before and there’s a risk of contamination or damage, wash and dry
them before mounting.
Check the area of the machine where the bearings will be mounted: this also needs to be clean, dry and dust-free. If you
need to install housings, shafts or seals, make sure they are clean and dust-free. Check the lubrication holes and threaded holes
for traces of substances from previous ensembles.
NOTE: New bearings may be covered in preservative. In most cases, it’s not necessary to wash this off, as long as you wipe
off the outside and bore surfaces. However, it is necessary to double check if the lubricant
you plan to use is compatible with the preservative. If not, you must wash and dry the bearing before mounting it. This
doesn’t apply to bearings with seals and shields.
When all this is done, you can go to the second step of the process.
CHECK THE TOLERANCES OF ALL ELEMENTS IN THE ASSEMBLY
The dimensional and geometrical tolerances of the pieces in the assembly must be checked before starting the mounting, as the
performance of bearings can be severely affected by poorly chosen associated components. The tolerances of bearings are described
by tolerance classes, as defined in the ISO 492
(radial bearings) and ISO 199 (thrust bearings) standards. These classes are important as they influence the applications of
bearings.
As you may know, a bearing’s tolerance refers to three aspects of accuracy: the external dimensional accuracy, the
machining accuracy and the running accuracy. The dimensional accuracy gives the bearing’s external dimensions, such as bore diameter, outer
diameter, inner ring width and outer ring width. This parameter is important for determining the shaft and housing fits in a
bearing assembly.
The machining accuracy gives the precision of the manufacturing process and is important when choosing tolerances for shafts and
housings. This parameter measures the variation in dimensions when comparing one bearing to another, for example inner and outer
ring width variations.
The running accuracy or runout measures the radial runout and axial runout for the inner and outer ring, the side
runout for the inner ring and the outer diameter runout for the outer ring. This parameter is important for minimizing vibration
and misalignment in an assembly.
NOTE: For applications that require moderate rotation and operational speed, bearings with a Normal tolerance class are a
good choice. However, for applications where more precision is needed, you should choose a bearing with a more accurate tolerance
class. A tolerance Class 6 means less precision than a tolerance Class 4, and a Normal tolerance class is less precise than a
Class 6. The tolerance class of the bearing should be chosen based on the application requirements for the previously mentioned
parameters.
Since good bearing performance depends on adherence to the fits for the rings, the selection of the fits must be done
before mounting the bearing. The rings should be well supported in the assembly, but not too tight, as depending on the application,
the internal clearance of the bearing will change. Thus, the clearance should be adapted to the fits. This means that besides
checking the tolerances, you should also make sure the bearing has the proper clearance and that the fits are not too loose or too
tight.
Bearing mounting methods
Before starting to mount the bearings, make sure you wear the proper personal protection equipment for preventing injuries and
product contamination. Safety gloves, shoes and goggles not only enhance workers’ safety, but also prevent the contamination of
bearings with foreign particles.
PPE is especially important when handling hot or oily bearings, so make sure to check our guide on hand and arm protection if you
need help in selecting the proper safety gloves for your company.
The choice for a mounting method depends on the bearing type and on the fits. Bearings with cylindrical bores are mounted in most cases by pressing them on the shafts, or by heating them, as this expands the diameter. Bearings with a tapered bore can be mounted directly on tapered shafts or cylindrical shafts using tapered sleeves.
MOUNTING BEARINGS WITH A CYLINDRICAL BORE
For bearings with cylindrical bore, the inner ring is mounted first. Still, if the bearing is non-separable, the tighter fit
needs to be mounted first. If the ring is separable, then the inner ring will be mounted separately.
In both cases, the mounting can be done mechanically – and this procedure is called “cold mounting”, or
by heating the bearing previous to mounting – and this procedure is referred to as “hot mounting”. A third method
is hydraulic mounting, which is used mostly for large bearings.
For small bearings, meaning bearings with a diameter under 80 mm, both mechanical (cold) mounting and hot
mounting can be used, but the preferred method is the mechanical or hydraulic press. For the press fitting method,
a mounting tool is placed on the inner ring, then the bearing is pressed on the shaft, slowly, until the side of the
inner ring rests against the shaft.
CAUTION: The pressing tool shouldn’t be placed on the outer ring, as this may damage the bearing. Before mounting, it’s
recommended to apply oil on the shaft surface, to ensure a smooth insertion.
If no press is available, small bearings can also be mounted using a hammer and a mounting tool, such as a mounting sleeve with a
flat face. This ensures an even distribution of the force over the entire ring circumference, reducing the risk of damaging the
bearing.
This method is also preferred when the bearings require a tight fit, but should never be used for large bearings. The
mounting tool should always be placed on the inner ring. For non-separable bearings that require a tight fit, the mounting tool is
placed on both rings, and they are fitted at the same time with a hydraulic press, or with a screw.
Cold mounting of self-aligning bearings with cylindrical bore require the use of an intermediate mounting ring, which
prevents the outer ring from moving when the device is introduced into the housing.
Bearings with a diameter of 80-200 mm are considered medium-sized, and those with a diameter larger than 200 mm are
considered large. For both these categories, hot mounting is preferred. Hot mounting of bearings with a
cylindrical bore applies to small bearings only when a very tight fit is needed. However, for large bearings, hot mounting is the
preferred method.
Large bearings cannot usually be mounted without being heated as the force required to install them is very high.
The temperature may vary depending on the type of bearing and manufacturer. For example, for SKF bearings the recommended heating temperatures are 80°C
for capped bearings (with shields or seals), and 120°C for open bearings. For the hot mounting method, the risk of overheating the bearings locally is present,
therefore SKF recommends using an electric induction heater for heating the devices evenly. With this method, the bearing
is pre-heated, therefore the inner ring expands and is easier to install.
Other methods, such as heating the bearing in oil, can also be used, but in this case the risk of contamination increases. If hotplates are used,
the bearings must be turned over several times, so it’s preferable to place a ring between the plate and the bearing to avoid damage. Also, if the bearings are
capped, make sure the seals don’t come in direct contact with the plate.
MOUNTING BEARINGS WITH A TAPERED BORE
Bearings with a tapered bore are mounted on a tapered shaft or on a cylindrical shaft with an adapter or withdrawal sleeve. This
is always done with an interference fit, the degree of interference being determined by how far the bearing is moved up onto a
tapered shaft seat.
Small bearings with a bore diameter lower than 80 mm can be driven up onto the seat using a bearing fitting tool or a lock
nut. For bearings mounted with an adapter sleeve, a hook or impact spanner should be used, and for those mounted with withdrawal
sleeves, a bearing fitting tool or a nut are the best tools to use.
For medium-size bearings with a tapered bore, the proper bearing mounting tool is the impact spanner, but the
drive-up method and the oil injection method can also be used. The last two techniques apply also to large-size bearings. For
bearings with bore diameters greater than 200 mm, hydraulic nuts are recommended, and where applicable, SKF recommends using
shafts and sleeves with grooves and ducts for the oil injection method.
The installation of large bearings using hydraulic nuts is applicable to tapered shaft seats, adapter sleeves and
withdrawal sleeves. The hydraulic nut is positioned onto a threaded section of the shaft, or onto the thread of the sleeve, and
rests on the inner ring of the bearing or on the shaft. When oil is pumped into the hydraulic nut, the piston is displaced axially
thus the inner ring is driven up the taper, and mounted safely and accurately.
In the oil injection method (hydraulic method), also used for large bearings with tapered bore, oil under high pressure is injected
via ducts and distribution grooves between the bearing and the seat. This oil forms a film between the two surfaces, which reduces
friction, making mounting easier. Still, note that for this procedure, both the ducts and the grooves should already be in place,
as part of the shaft design. If they aren’t, it is necessary to machine the oil grooves, feed channels and threaded connections
into the shaft or sleeve before performing the oil injection.
BEARING MOUNTING METHODS OVERVIEW
| Mechanical (cold) mounting | Hot mounting | Hydraulic mounting / oil injection | |
|---|---|---|---|
| Bearing size | Small, medium | Small, medium, large | Small, medium, large |
| Seat type | Cylindrical, tapered, adapter sleeve, withdrawal sleeve | Cylindrical | Tapered, adapter sleeve, withdrawal sleeve |
| Tools used | Fitting tool, hook spanner, impact spanner | Hot plate induction heater, hot oil bath | Hydraulic nut and pump, drive up method, oil injection method |
Bearing mounting tools
You can use the selector below to quickly find the tools needed for mounting the bearings in your application. By clicking on the image
or the tool name, you will be taken to the product page where you can easily add the tool in your cart.
| Cylindrical bore |
Bore diameter | Mechanical (cold) mounting | Hot mounting | Oil injection | Hydraulic mounting |
|---|---|---|---|---|---|
| Small |
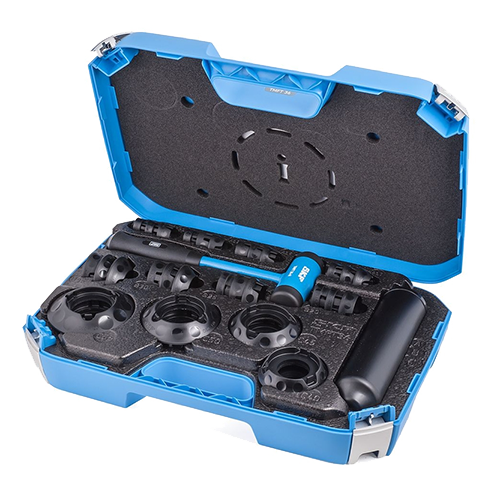
Fitting tool |
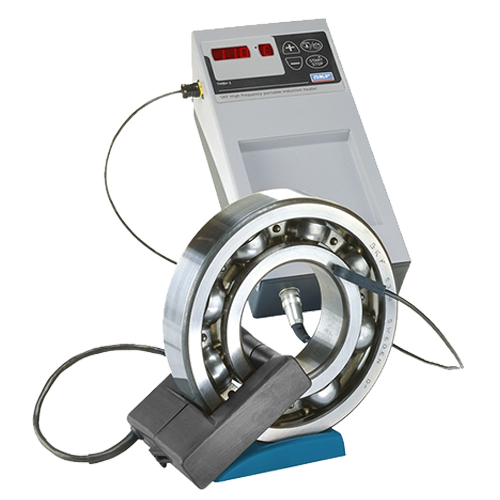
Induction heater |
|||
| Medium |
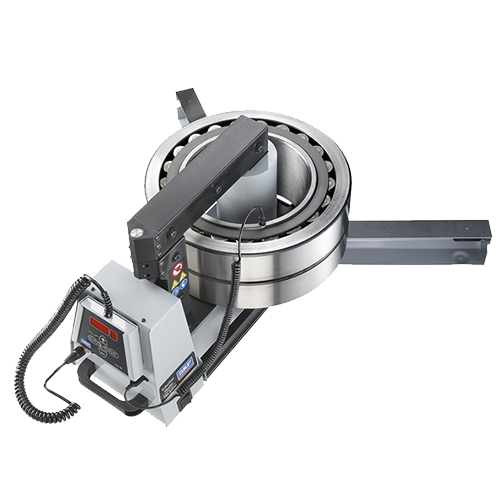
Induction heater |
||||
| Large |
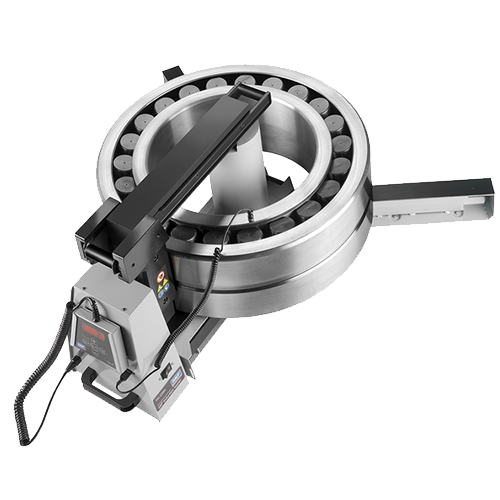
Induction heater |
||||
| Tapered bore |
Small |
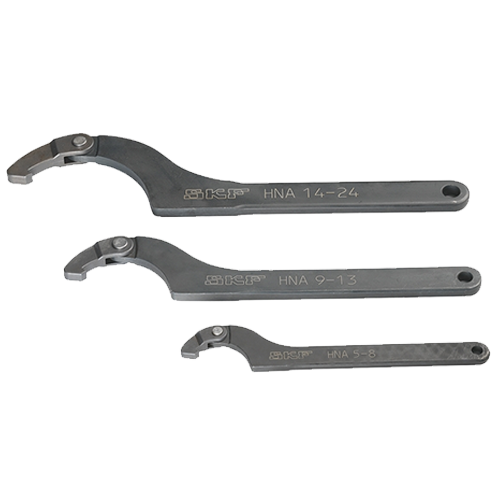
Hook spanner |
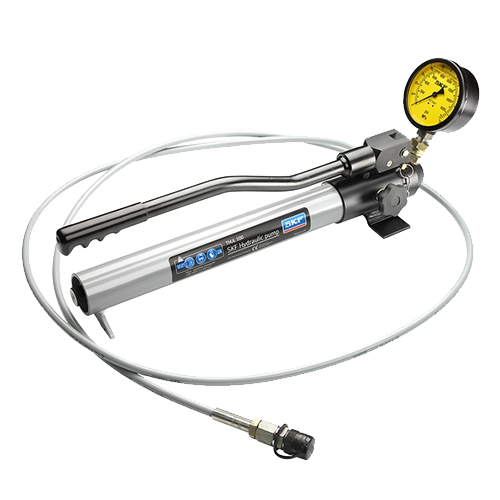
Hydraulic pump for Drive-up method |
||
| Medium |
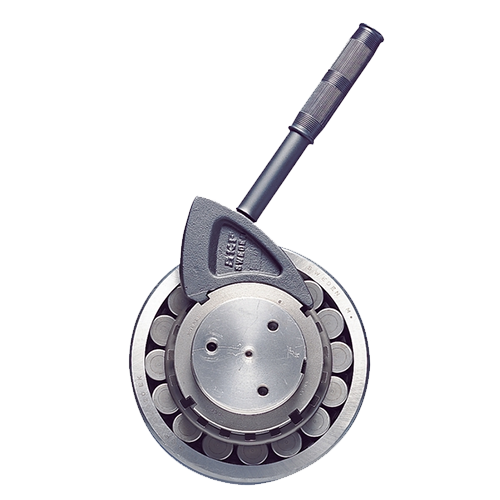
Impact spanner |
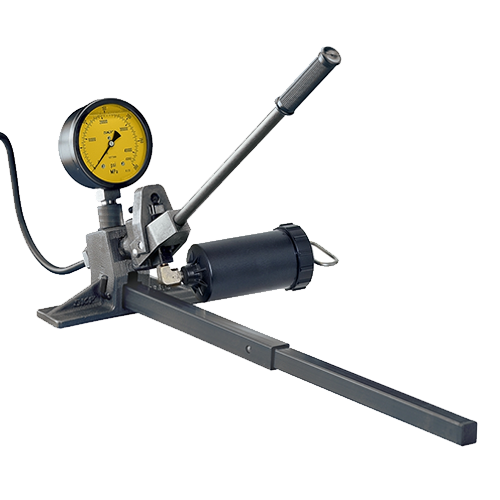
Oil injection kit |

Hydraulic pump for Drive-up method |
||
| Large |

Oil injection kit |

Hydraulic pump for Drive-up method |
|||
| Adapter sleeve |
Small |

Hook spanner |

Hydraulic pump for Drive-up method |
||
| Medium |

Impact spanner |

Oil injection kit |

Hydraulic pump for Drive-up method |
||
| Large |

Oil injection kit |

Hydraulic pump for Drive-up method |
|||
| Withdrawal sleeve |
Small |

Fitting tool |

Hydraulic pump for Drive-up method |
||
| Medium |

Oil injection kit |

Hydraulic pump for Drive-up method |
|||
| Large |

Oil injection kit |

Hydraulic pump for Drive-up method |
